Weights + Capacities
- Bike (w/ aerobars, cages, empty bags): ~29.5 lbs
- Loaded bike (no food/water): ~46.8 lbs
- Backpack: 5.6 lbs
- On-body clothes + shoes: 3.4 lbs
- Bodyweight: 148 lbs
- Water capacity: 5L on-bike + more in backpack if needed
- Food capacity: ~3 day, 2 night relatively comfortably (if 100% self sufficient)
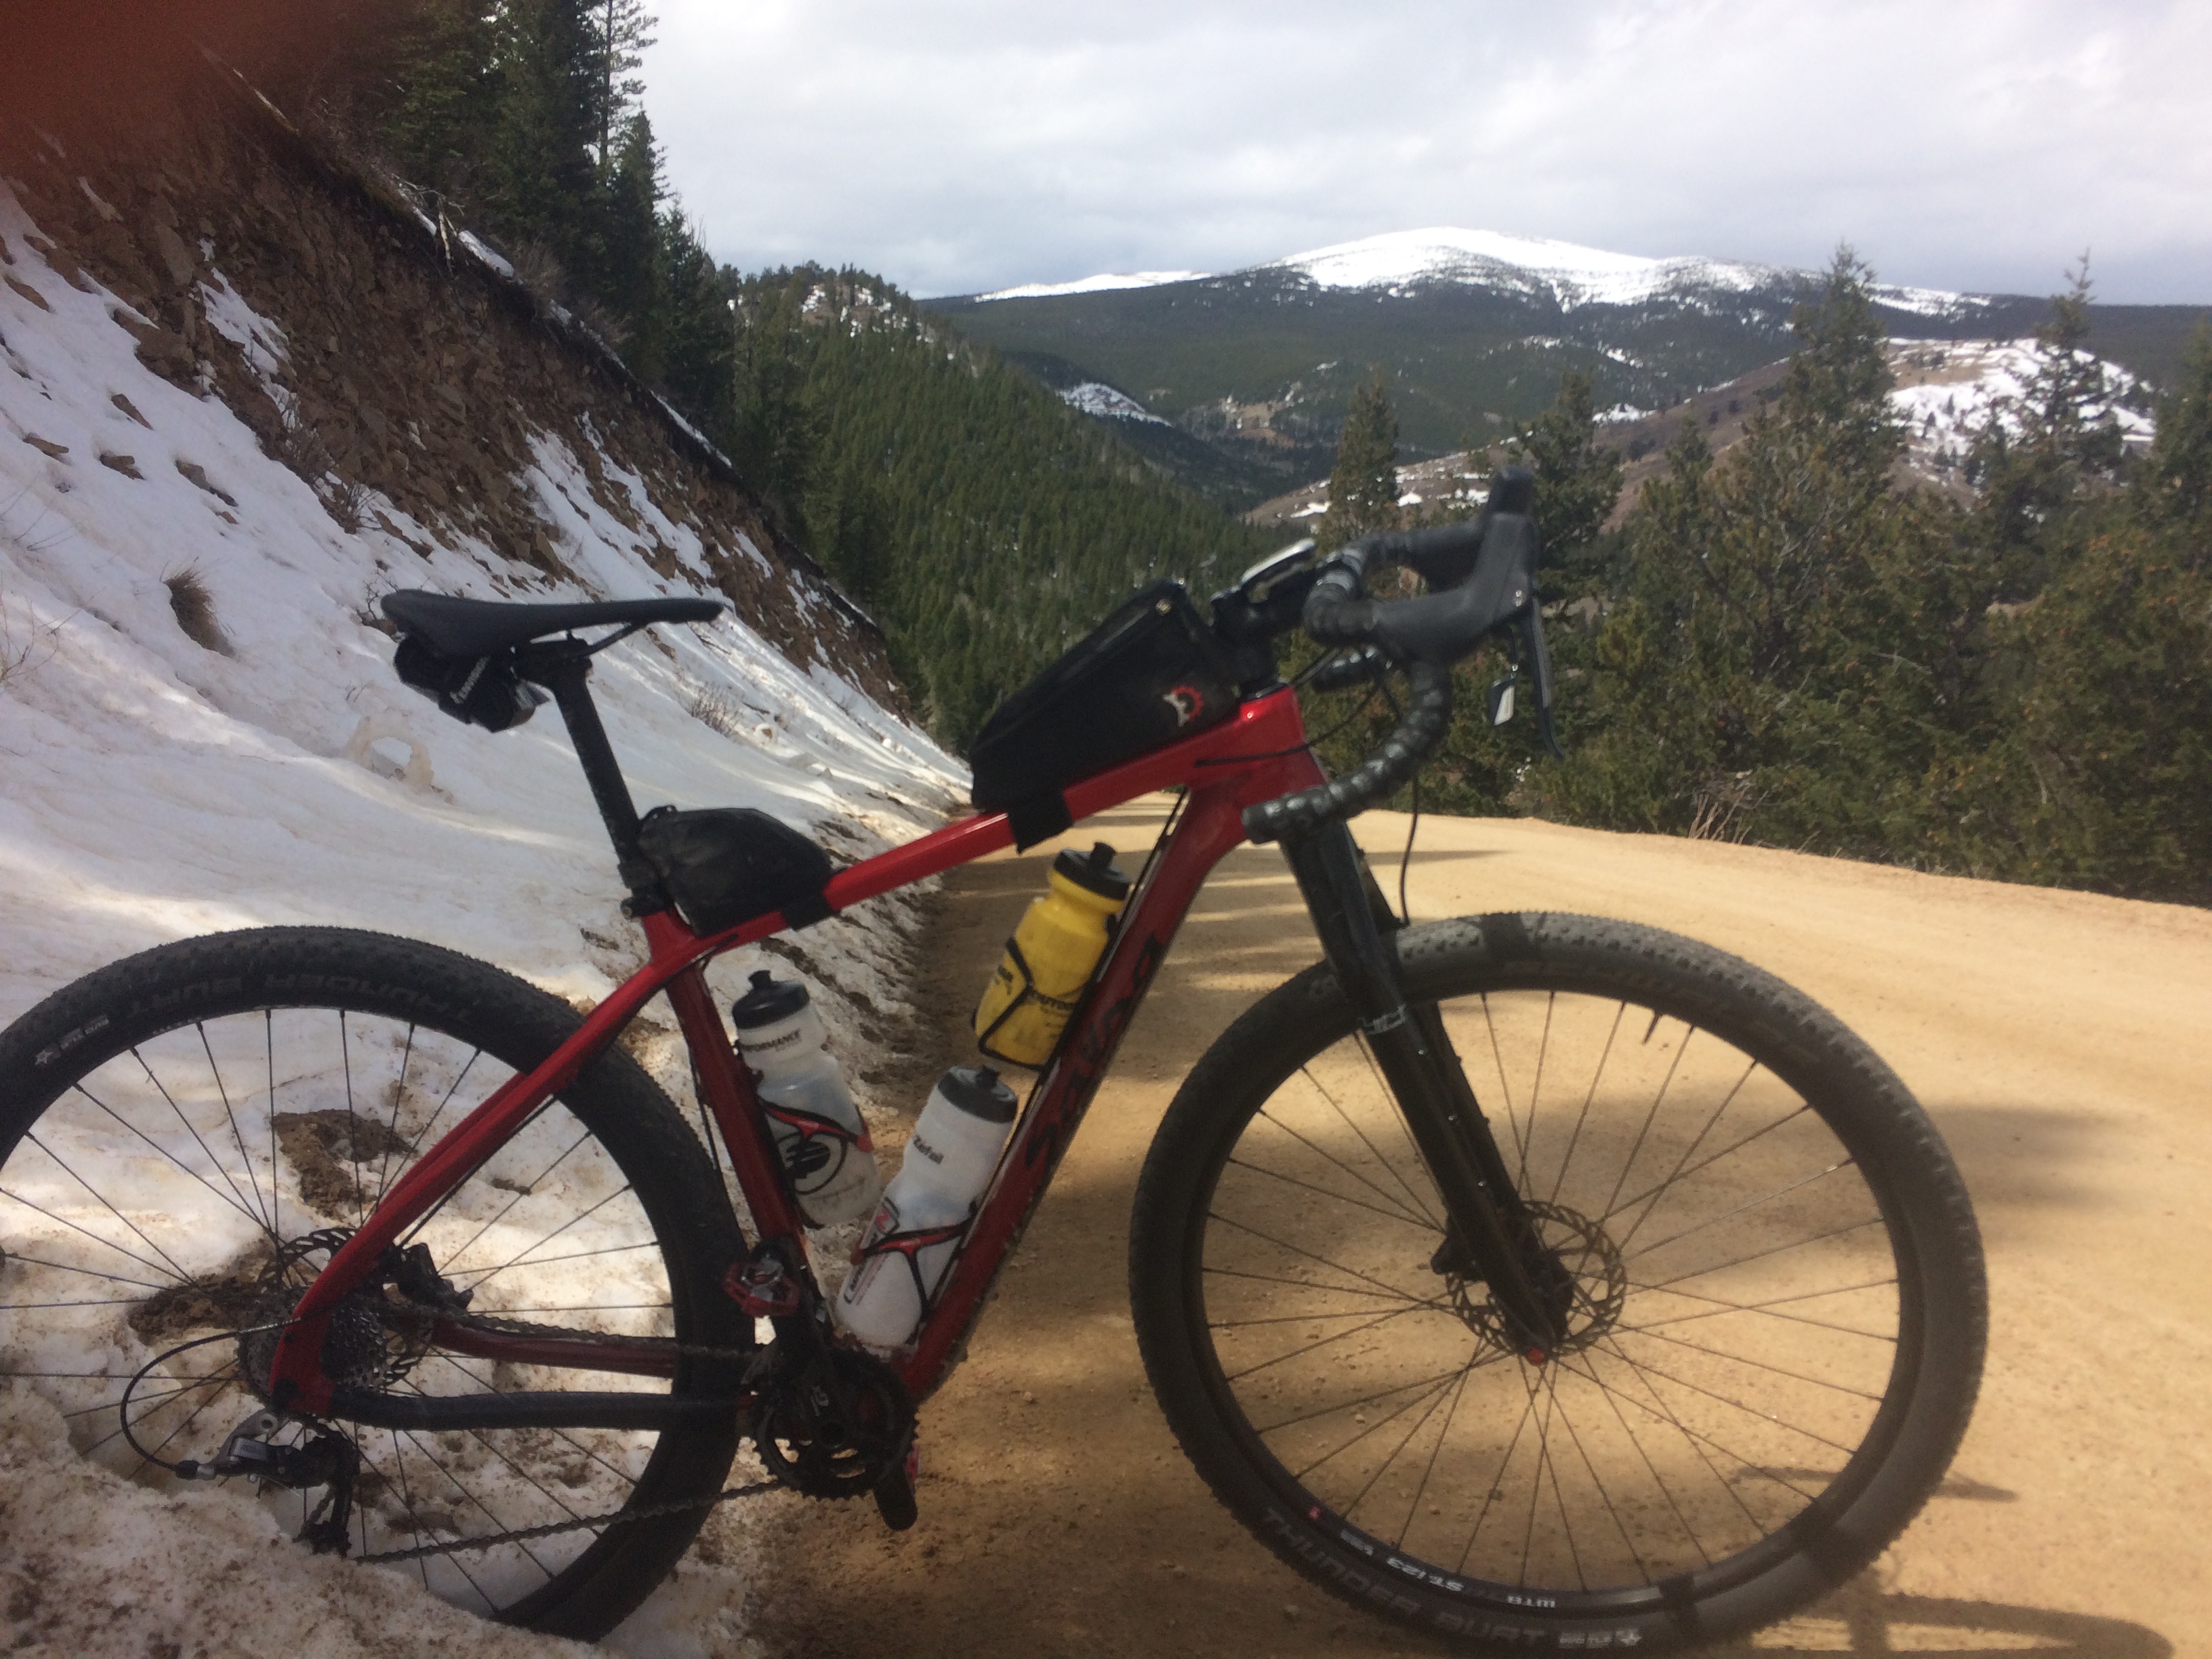
Bike Specs
- 2016 Salsa Cutthroat Size M
- WTB KOM i25 rims
- Hubs – Front: SP PD8X dynamo front, Sram X0 rear
- Tires: Maxxis Ikon 2.3 front, 2.1 rear (tubeless)
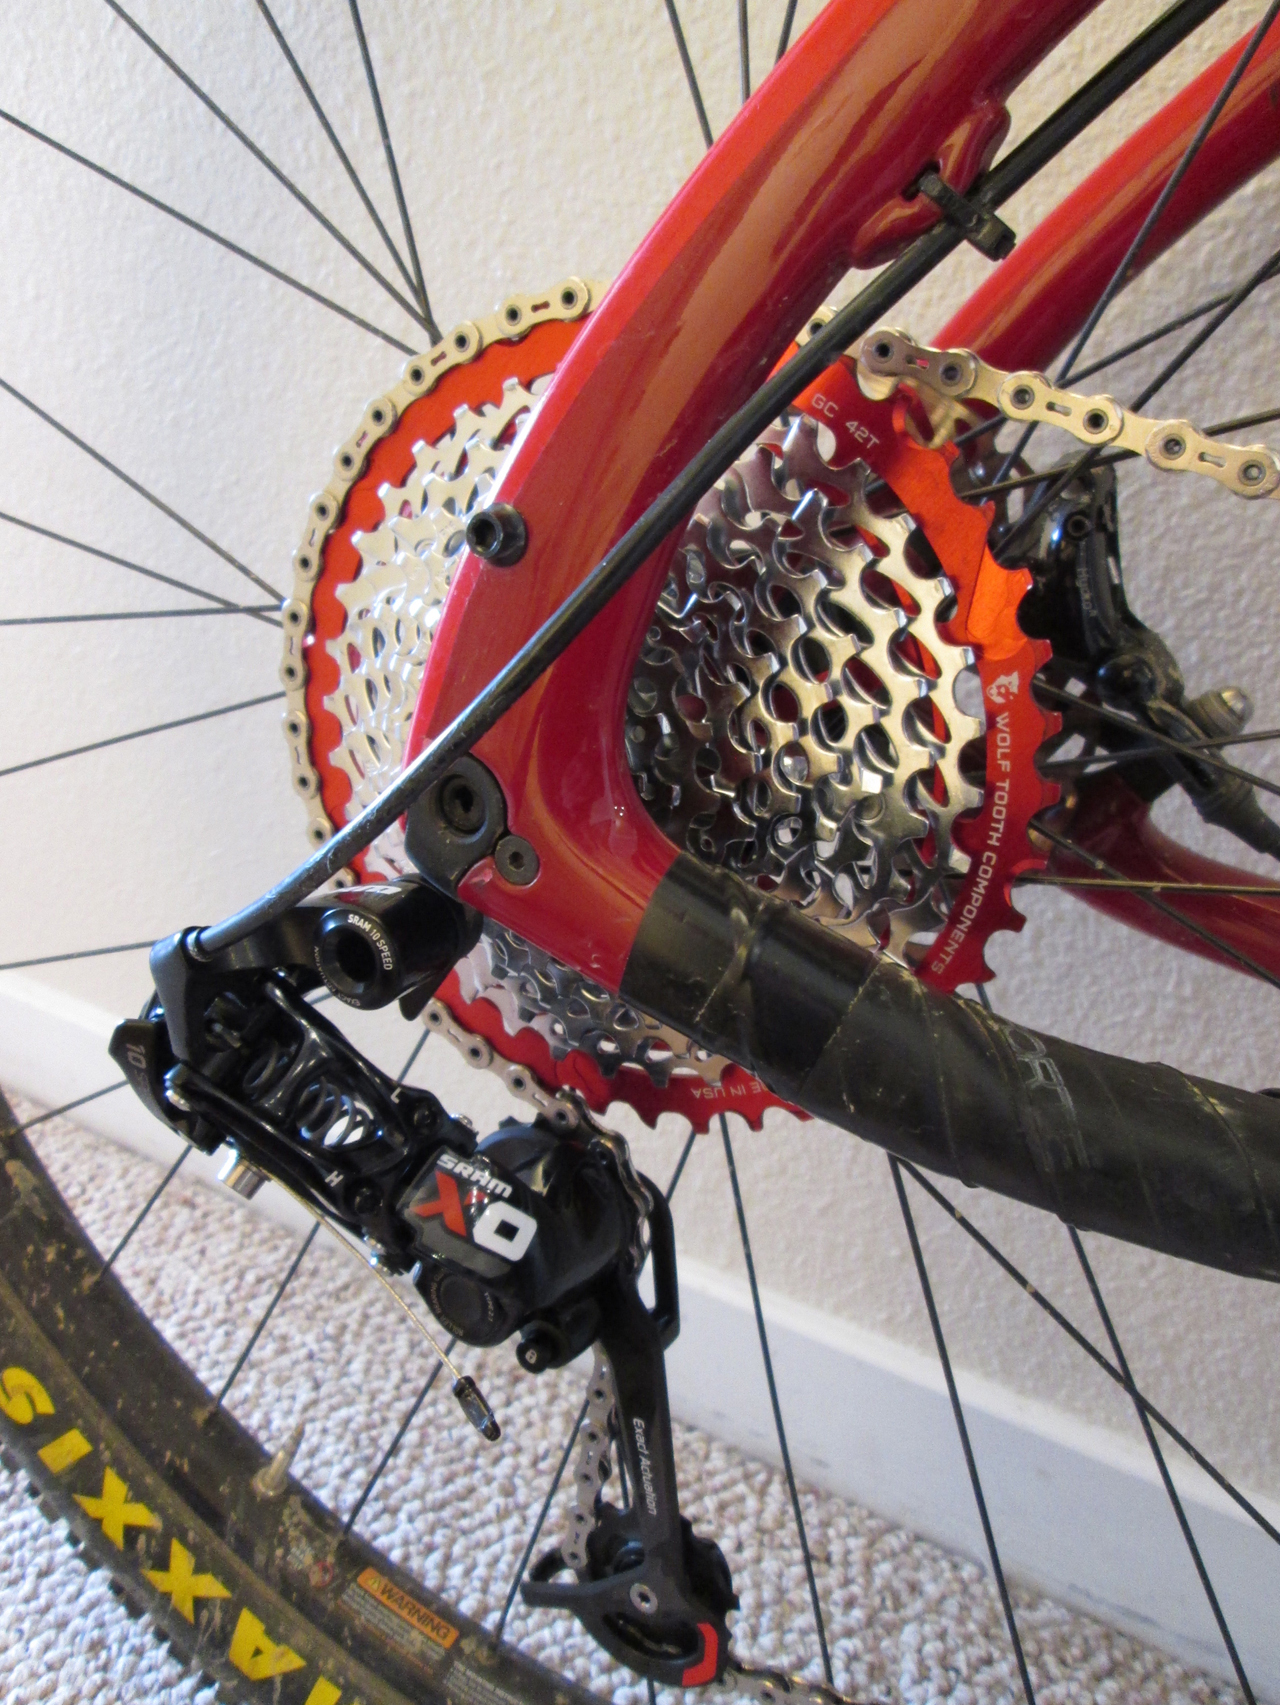
- Crankset: Sram XX 2×10 28/42
- Cassette: 11-42t (Sram 11-36 converted w/ Wolftooth 42t + 16t)
- Front/Rear derailleur: Sram X0
- Eriksen Ti Seatpost
- Barrel adjusters spliced into shift cables
Harness: Salsa Anything Cradle + Sea To Summit 13L Lightweight Dry Bag
- Mattress Pad: Therm-a-rest Neoair
- Bivy: Miles Gear Pico Bivy w/ footprint
- Sleeping Bag: Mountain Hardwear Phantom 32
- Puff Jacket: Patagonia Ultralight Down Jacket
Handlebar Bag: Revelate Designs Handlebar Bag (old version)
- Electrolytes: 100ml E-lete (makes 10 gal), Nuun tab bottle
- Misc pills: ibuprofen, vitamins, Benadryl
- Bug spray: Repel 100 (0.4 fl oz)
- 1L Platypus bladder + Sawyer Mini filter
- Camp headlamp
- Half roll TP
- 1.25 fl oz DZ Nuts
- Sea To Summit 1L Dry bag:
- iPod Nano
- Jackery Mini 3350 mAh battery #2
- Spare USB storage drive
- Phone in waterproof case
- Wallet
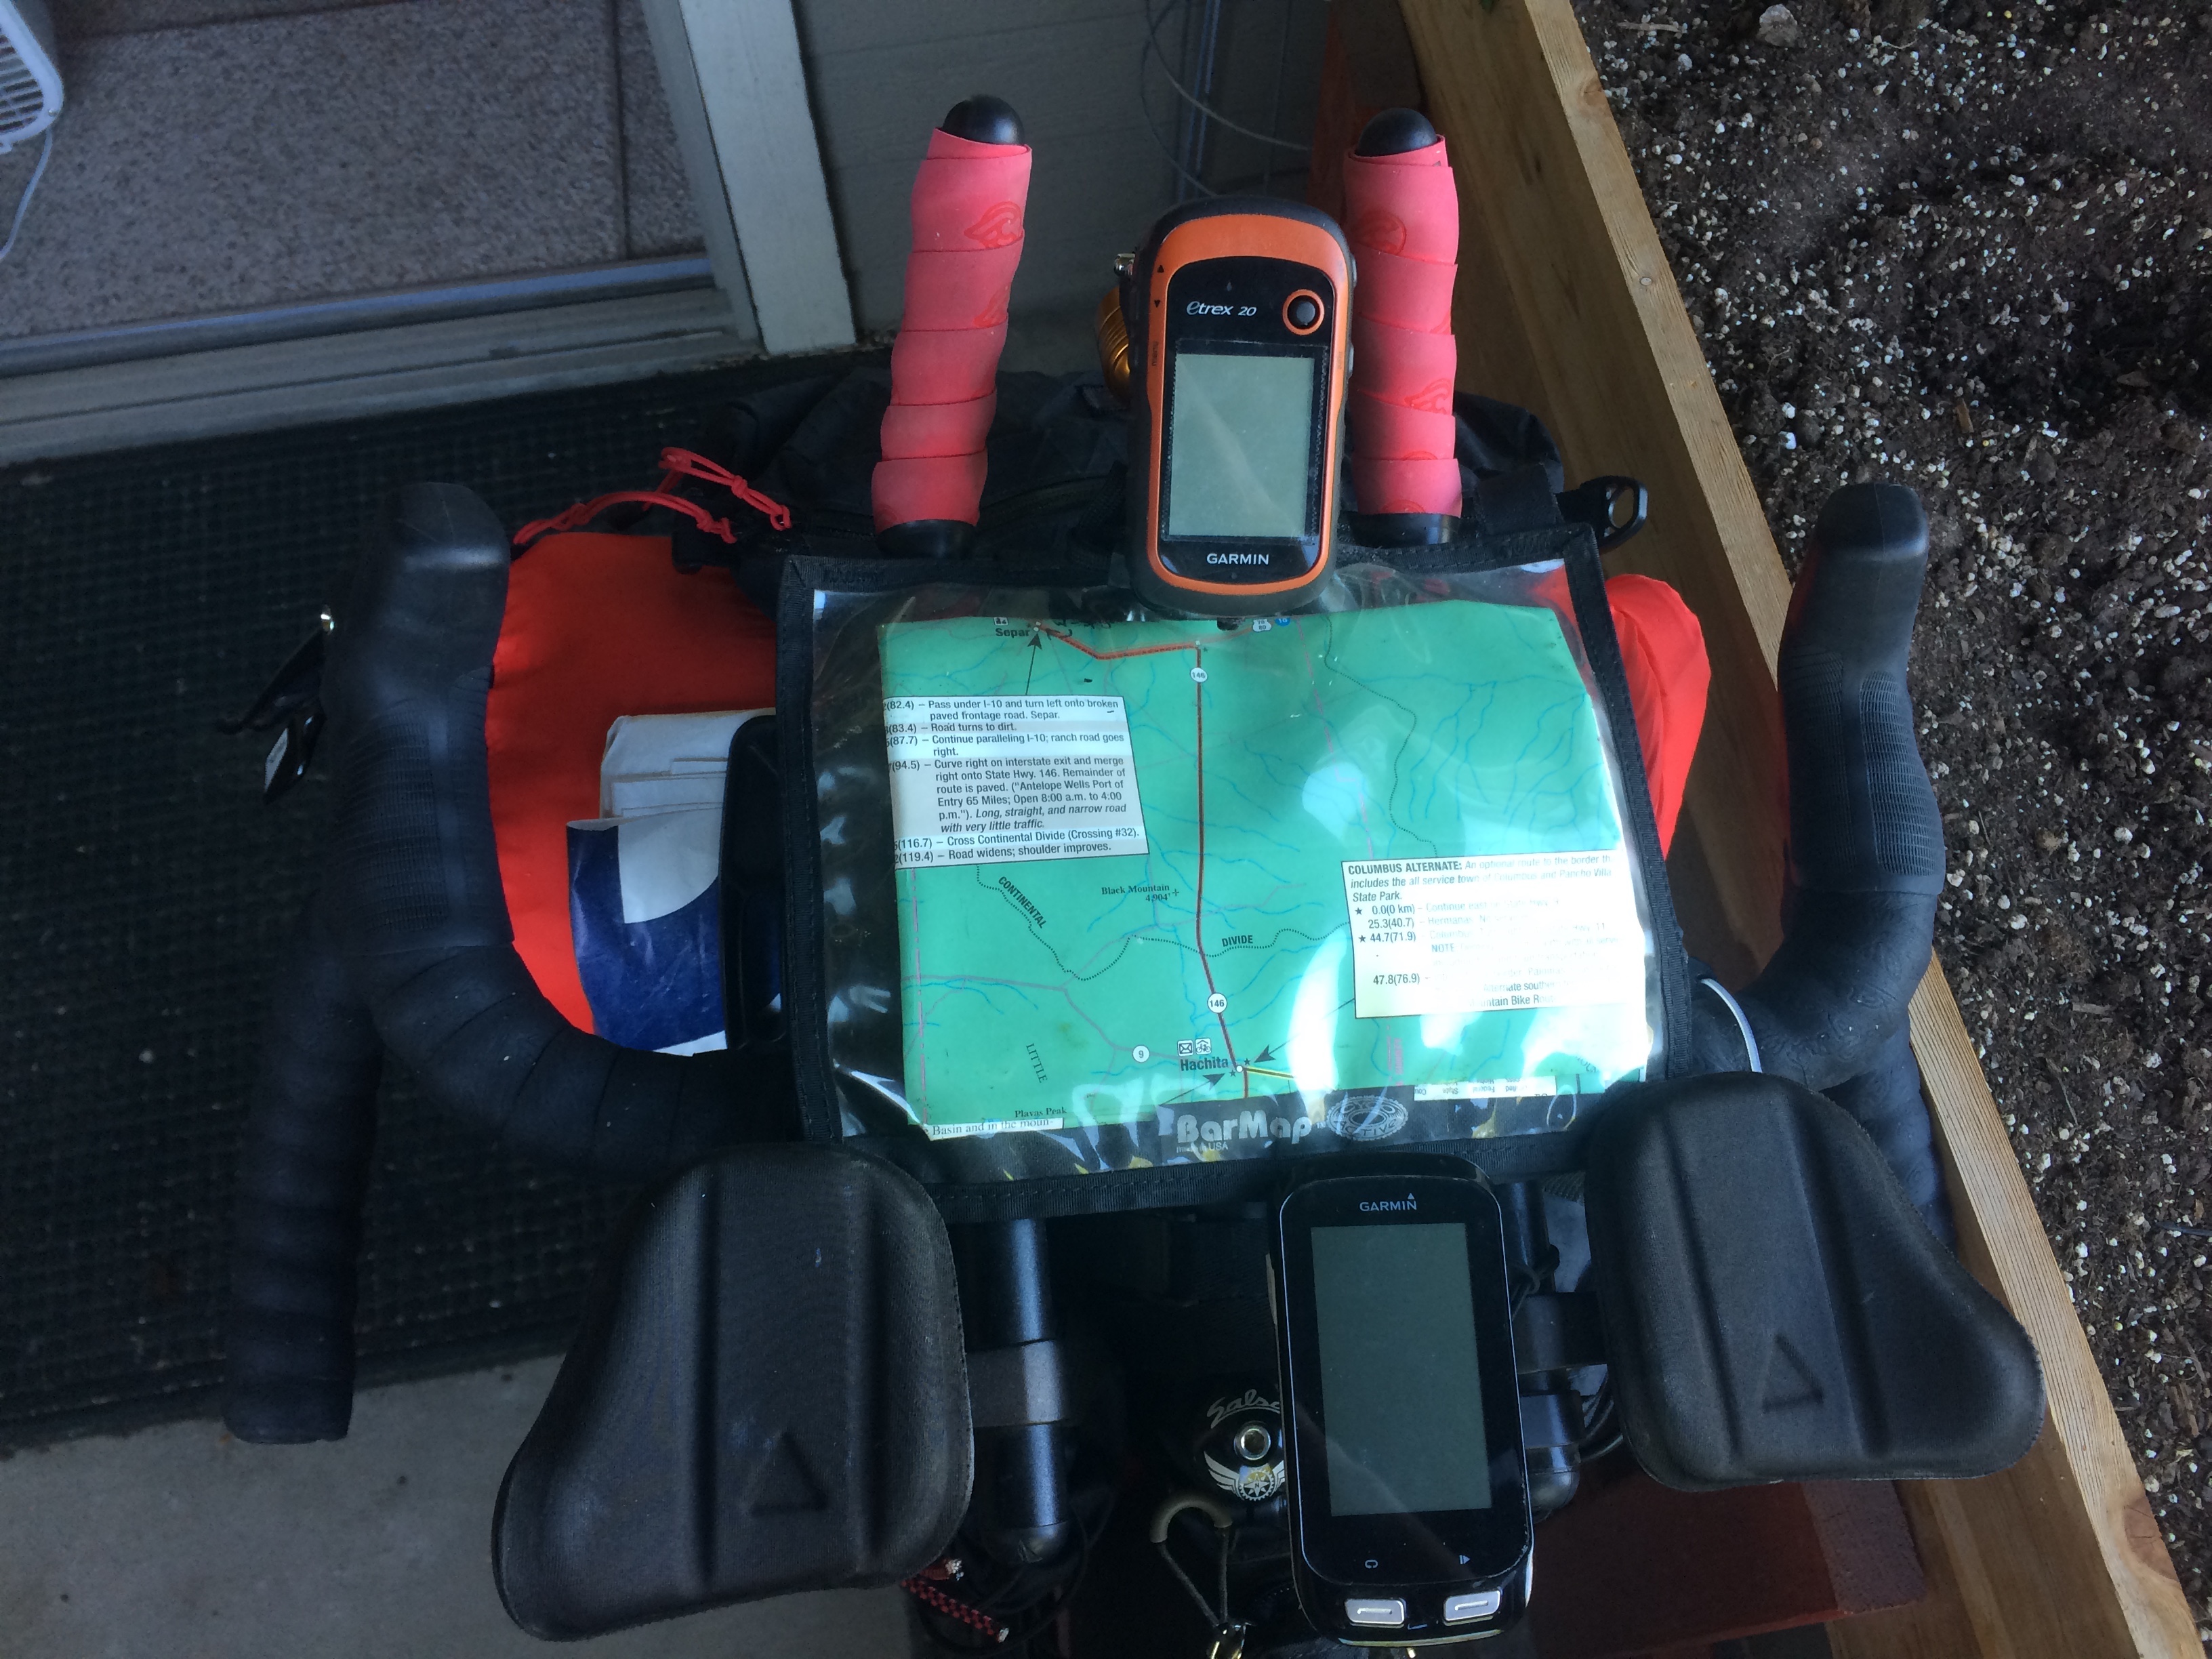
Cockpit
- GPS: Garmin Etrex 20 (secured w/ tether)
- 5×8.5″ Map Case
- Current ACA map
- Homemade services cue sheet
- Mini journal + pen
- Profile Design T3+ Aero Bars
- Dynamo light: Klite Backpacker
- USB charger: Sinewave Revolution
- Bike computer: Garmin Edge 1000 (can act as backup GPS) (secured w/ tether)
- Left Revelate Designs Feed Bag
- Inside pouch: misc food items
- Mesh pocket: camera – Sony Cyber-Shot DSCW810 (secured w/ tether)
- Right Revelate Designs Feed Bag
- Inside pouch:
- Jackery Mini 3350 mAh battery #1
- AUKEY USB Wall Charger (2x 2.4Amp ports + foldable plug)
- Charging and data transfer cables
- Mesh pocket:
- Sunscreen
- Chapstick
- Hand sanitizer
- Inside pouch:
Fork
- 2x Zefal Magnum 1 liter bottle (secured w/ shock cord)
- Lezyne HV pump w/ pressure gauge
Top Tube
- Revelate Designs Gas Tank
- Misc food items
- Bolder Bikepacking Jerry Can
- Bike multi-tool: Crank Bros M17
- Multi-tool: Leatherman Squirt
- Chain Lube
- Iodine tablets
- patches, tire lever, spares (bolts, stems, chain links, brake pad, etc)
Frame Bag: Salsa EXP
- ACA maps 4-6
- Bike cleaning rag
- Drivetrain cleaning tool
- Spare tube
- Bivy pole
- Spare sealant
- Spare batteries (4x AAA, 6x AA, 2x CR2032)
- Water bladder: MSR Dromedary 4L (max fillable to ~3L)
- Spare food
Downtube
- MSR fuel bottle (12 fl oz) (offset lower for tire clearance w/ Wolftooth BRAD system)
- Spare tube #1
Seat Bag External
- Bike lock (6′ cable + luggage lock)
- SPOT Gen 3
- Rain jacket: Outdoor Research Helium II
Seat Bag: Revelate Designs Viscacha
- Camp pillow: Exped Air Pillow
- Cookset
- MSR Whisperlite International
- Lighter + matches
- Snow Peak 900 pot + lid
- Snow Peak 450 mug (a 1lb peanut butter jar nests perfectly)
- Pot Grabber
- Windscreen
- Toiletry + misc bag: Eagle Creek
- Deodorant
- Spares (iodine tablets + chapstick + lighter usb cables)
- Foot powder
- Toothbrush
- Toothpaste
- Butt maintenance: Bacitracin ointment + Clotrimazole
- Misc med kit
- Sugoi waterproof shoe covers
- Aerostitch Triple Digit waterproof glove covers
- Outdoor Research Helium rain pants
- Space for LOTS of food
On-Body Clothes
- Bibs: Ibex merino wool bibs
- Base layer: Smartwool t-shirt
- Jersey: Smartwool Flagstaff full zip
- Socks: Smartwool PhD Light Mini
- Pearl Izumi Sun Sleeves
- Shoes: Pearl Izumi X-Alp Launch II
- Watch: Timex Ironman
- Road ID
- Helmet
- Fenix LD22 headlight
- Rear blinky
Backpack: Osprey Syncro 15
- Spare clothes
- REI Zip Camp Pants
- Long sleeve shirt: Smartwool Lightweight
- Socks: Smartwool PhD Light Mid Crew
- Misc clothes
- Marmot wind jacket
- Smartwool liner gloves
- Pearl Izumi Soft-Shell Lite Gloves
- Smartwool beanie hat
- Boonie hat
- Wool Buff
- Pearl Izumi Barrier Leg Warmers
- Pearl Izumi Barrier Arm Warmers
- Bandana
- Prescription sunglasses: Wiley X Valor (transitions from clear to dark, semi-polarized) (I should’ve bought prescription glasses LONG ago!)
- Spare 1L Platypus bladder
- Spork
- Syringe for back-flushing Sawyer Mini filter
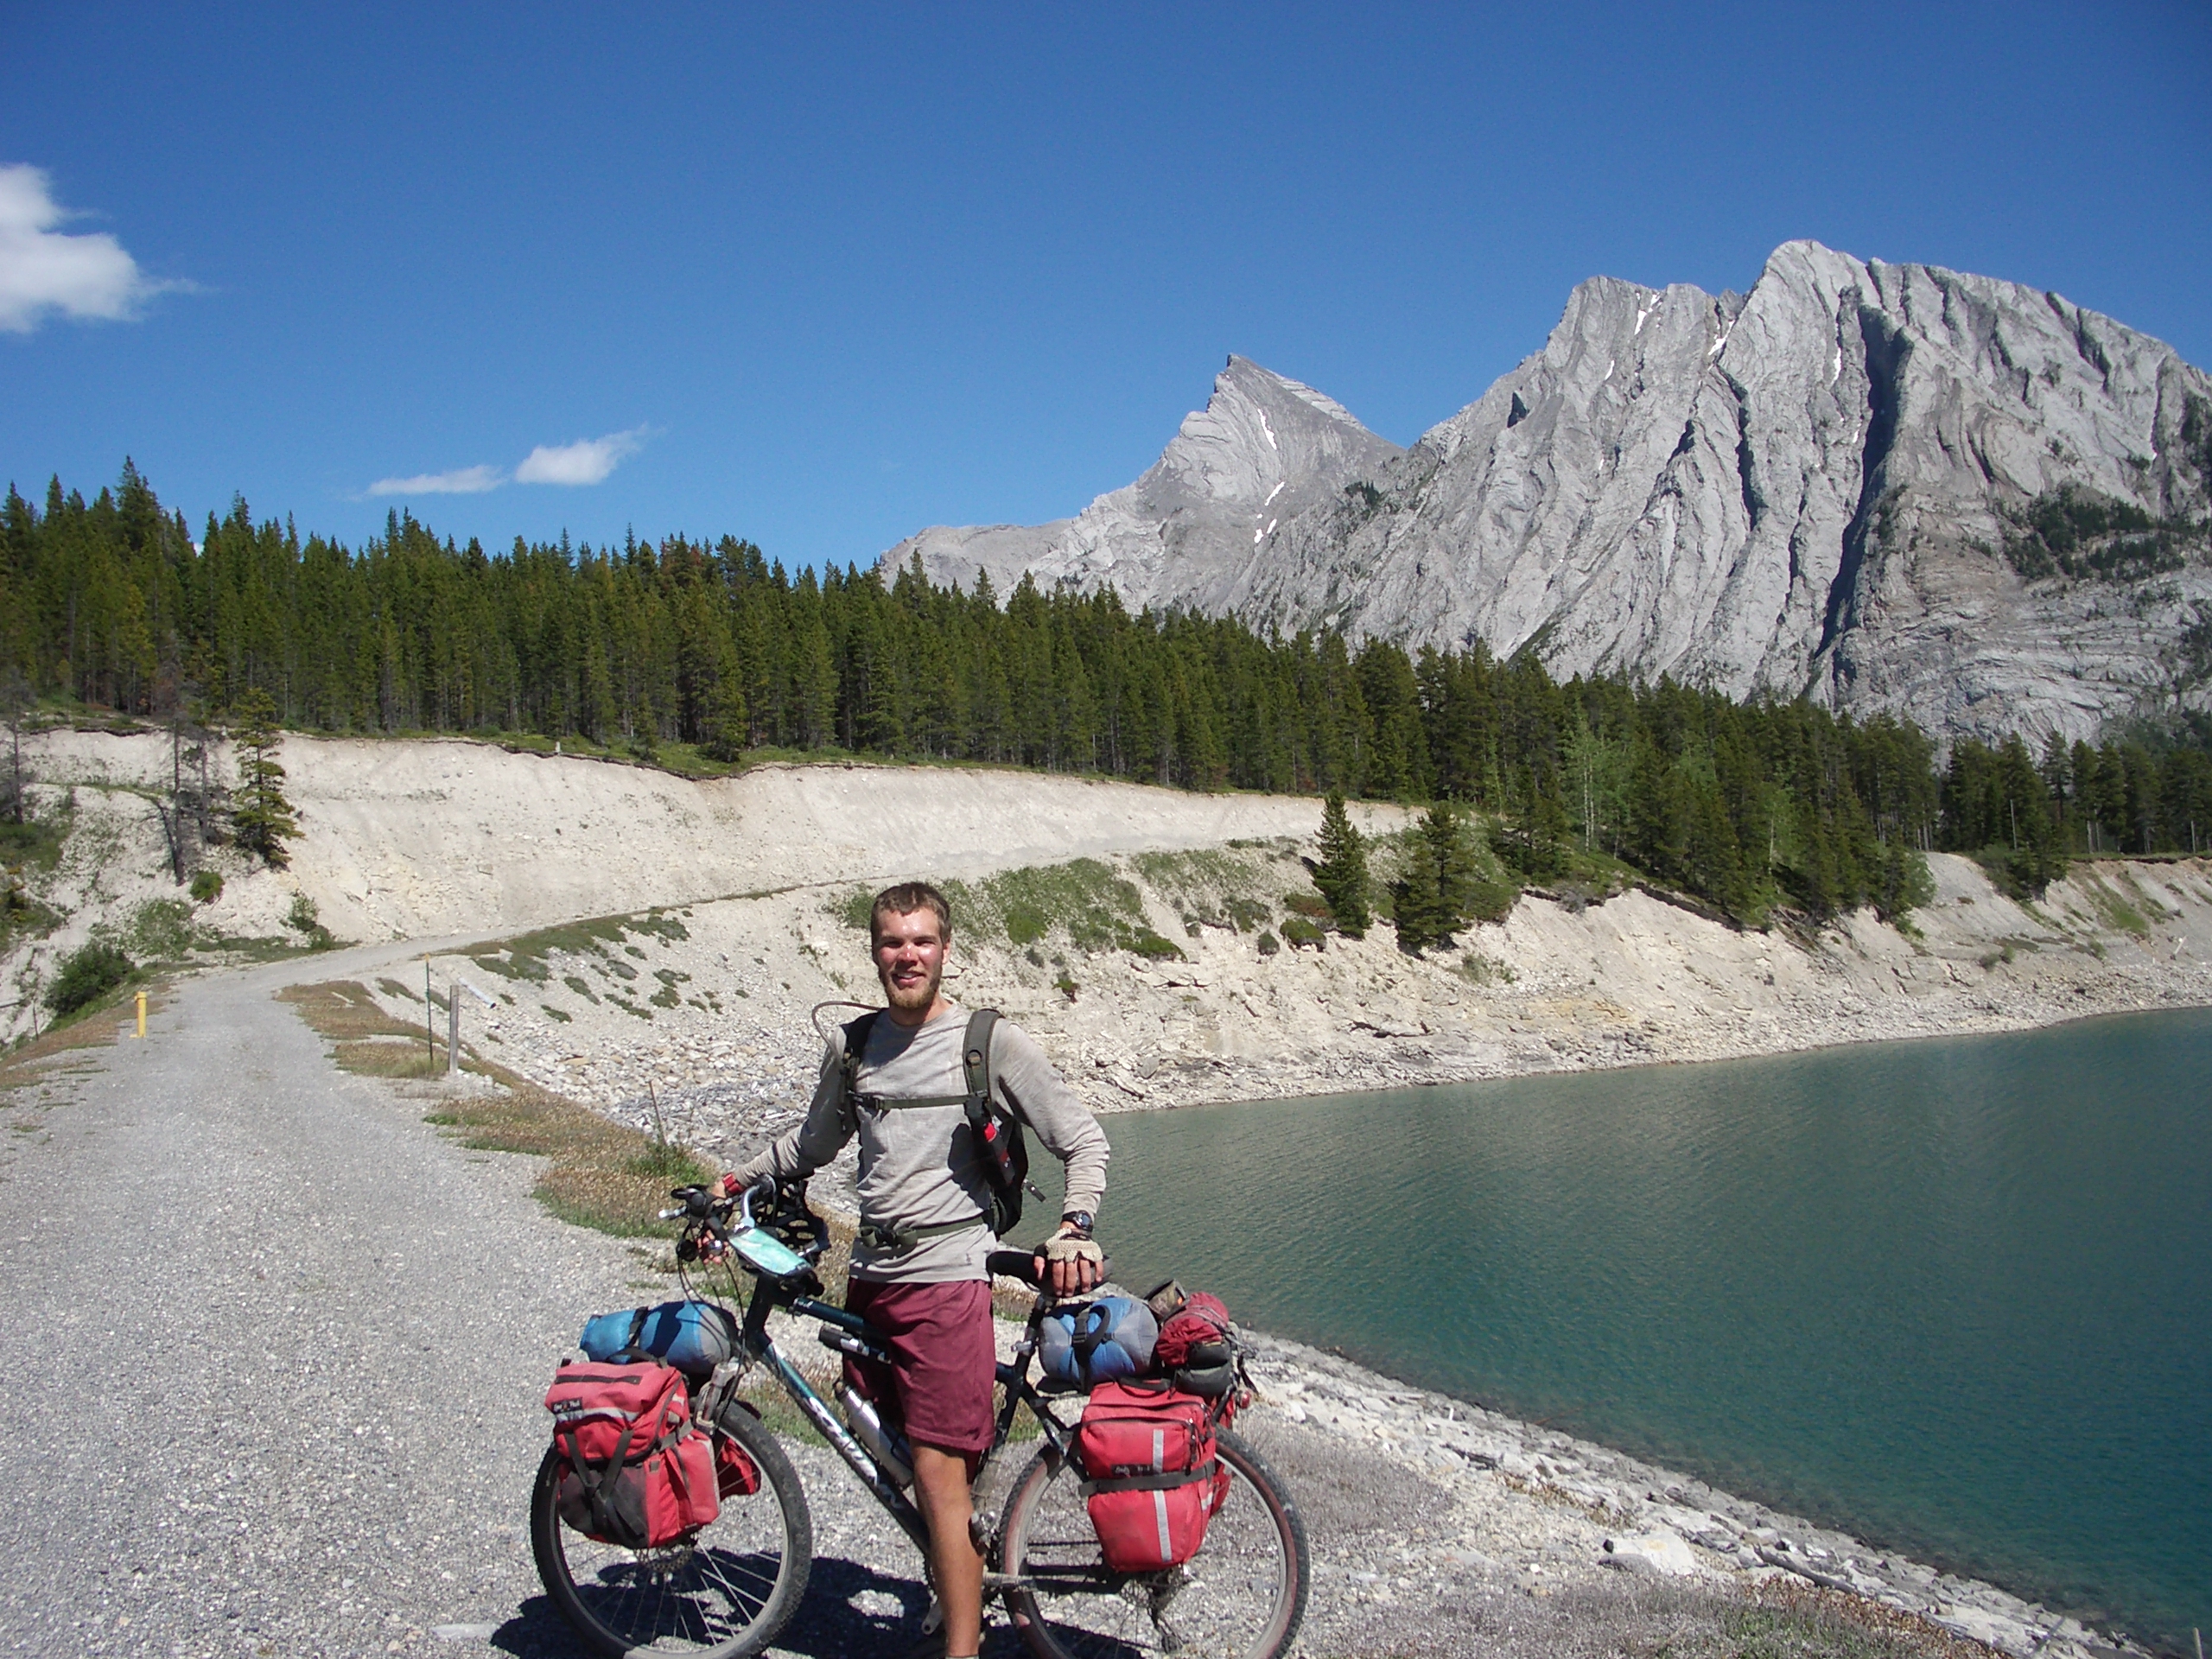
For comparison, in 2010 my bike looked like this:
Mile 0: Clean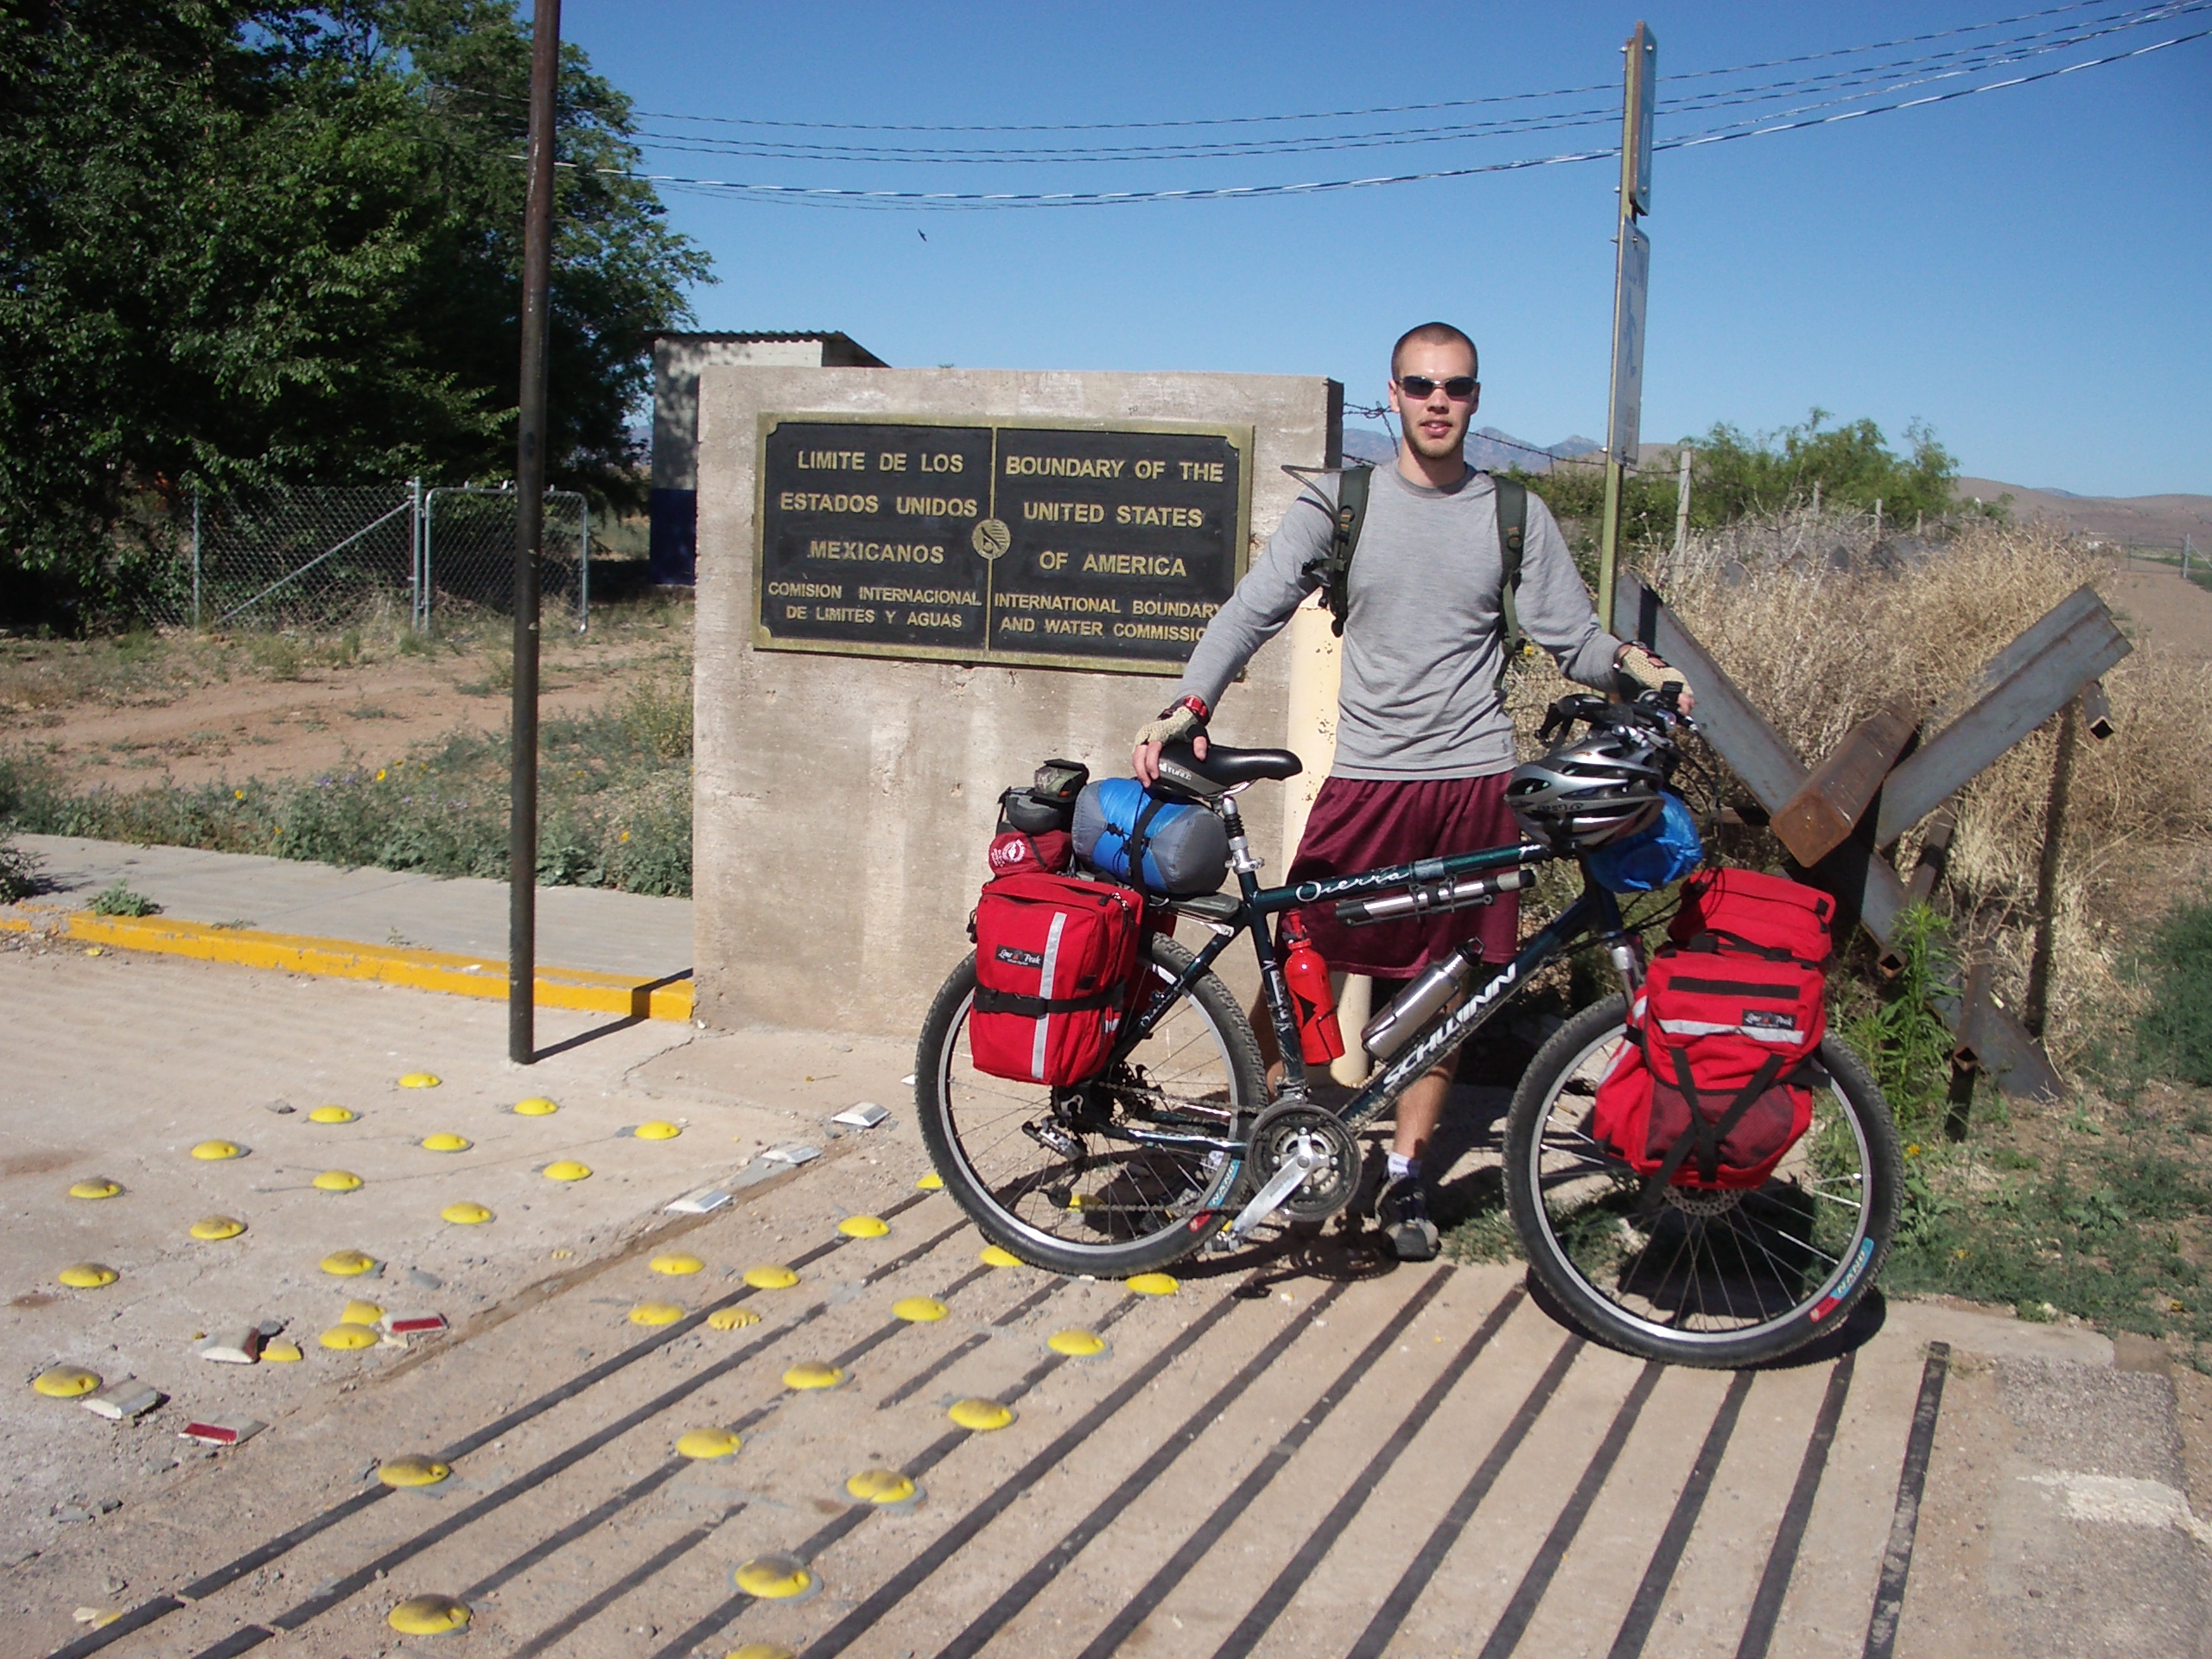
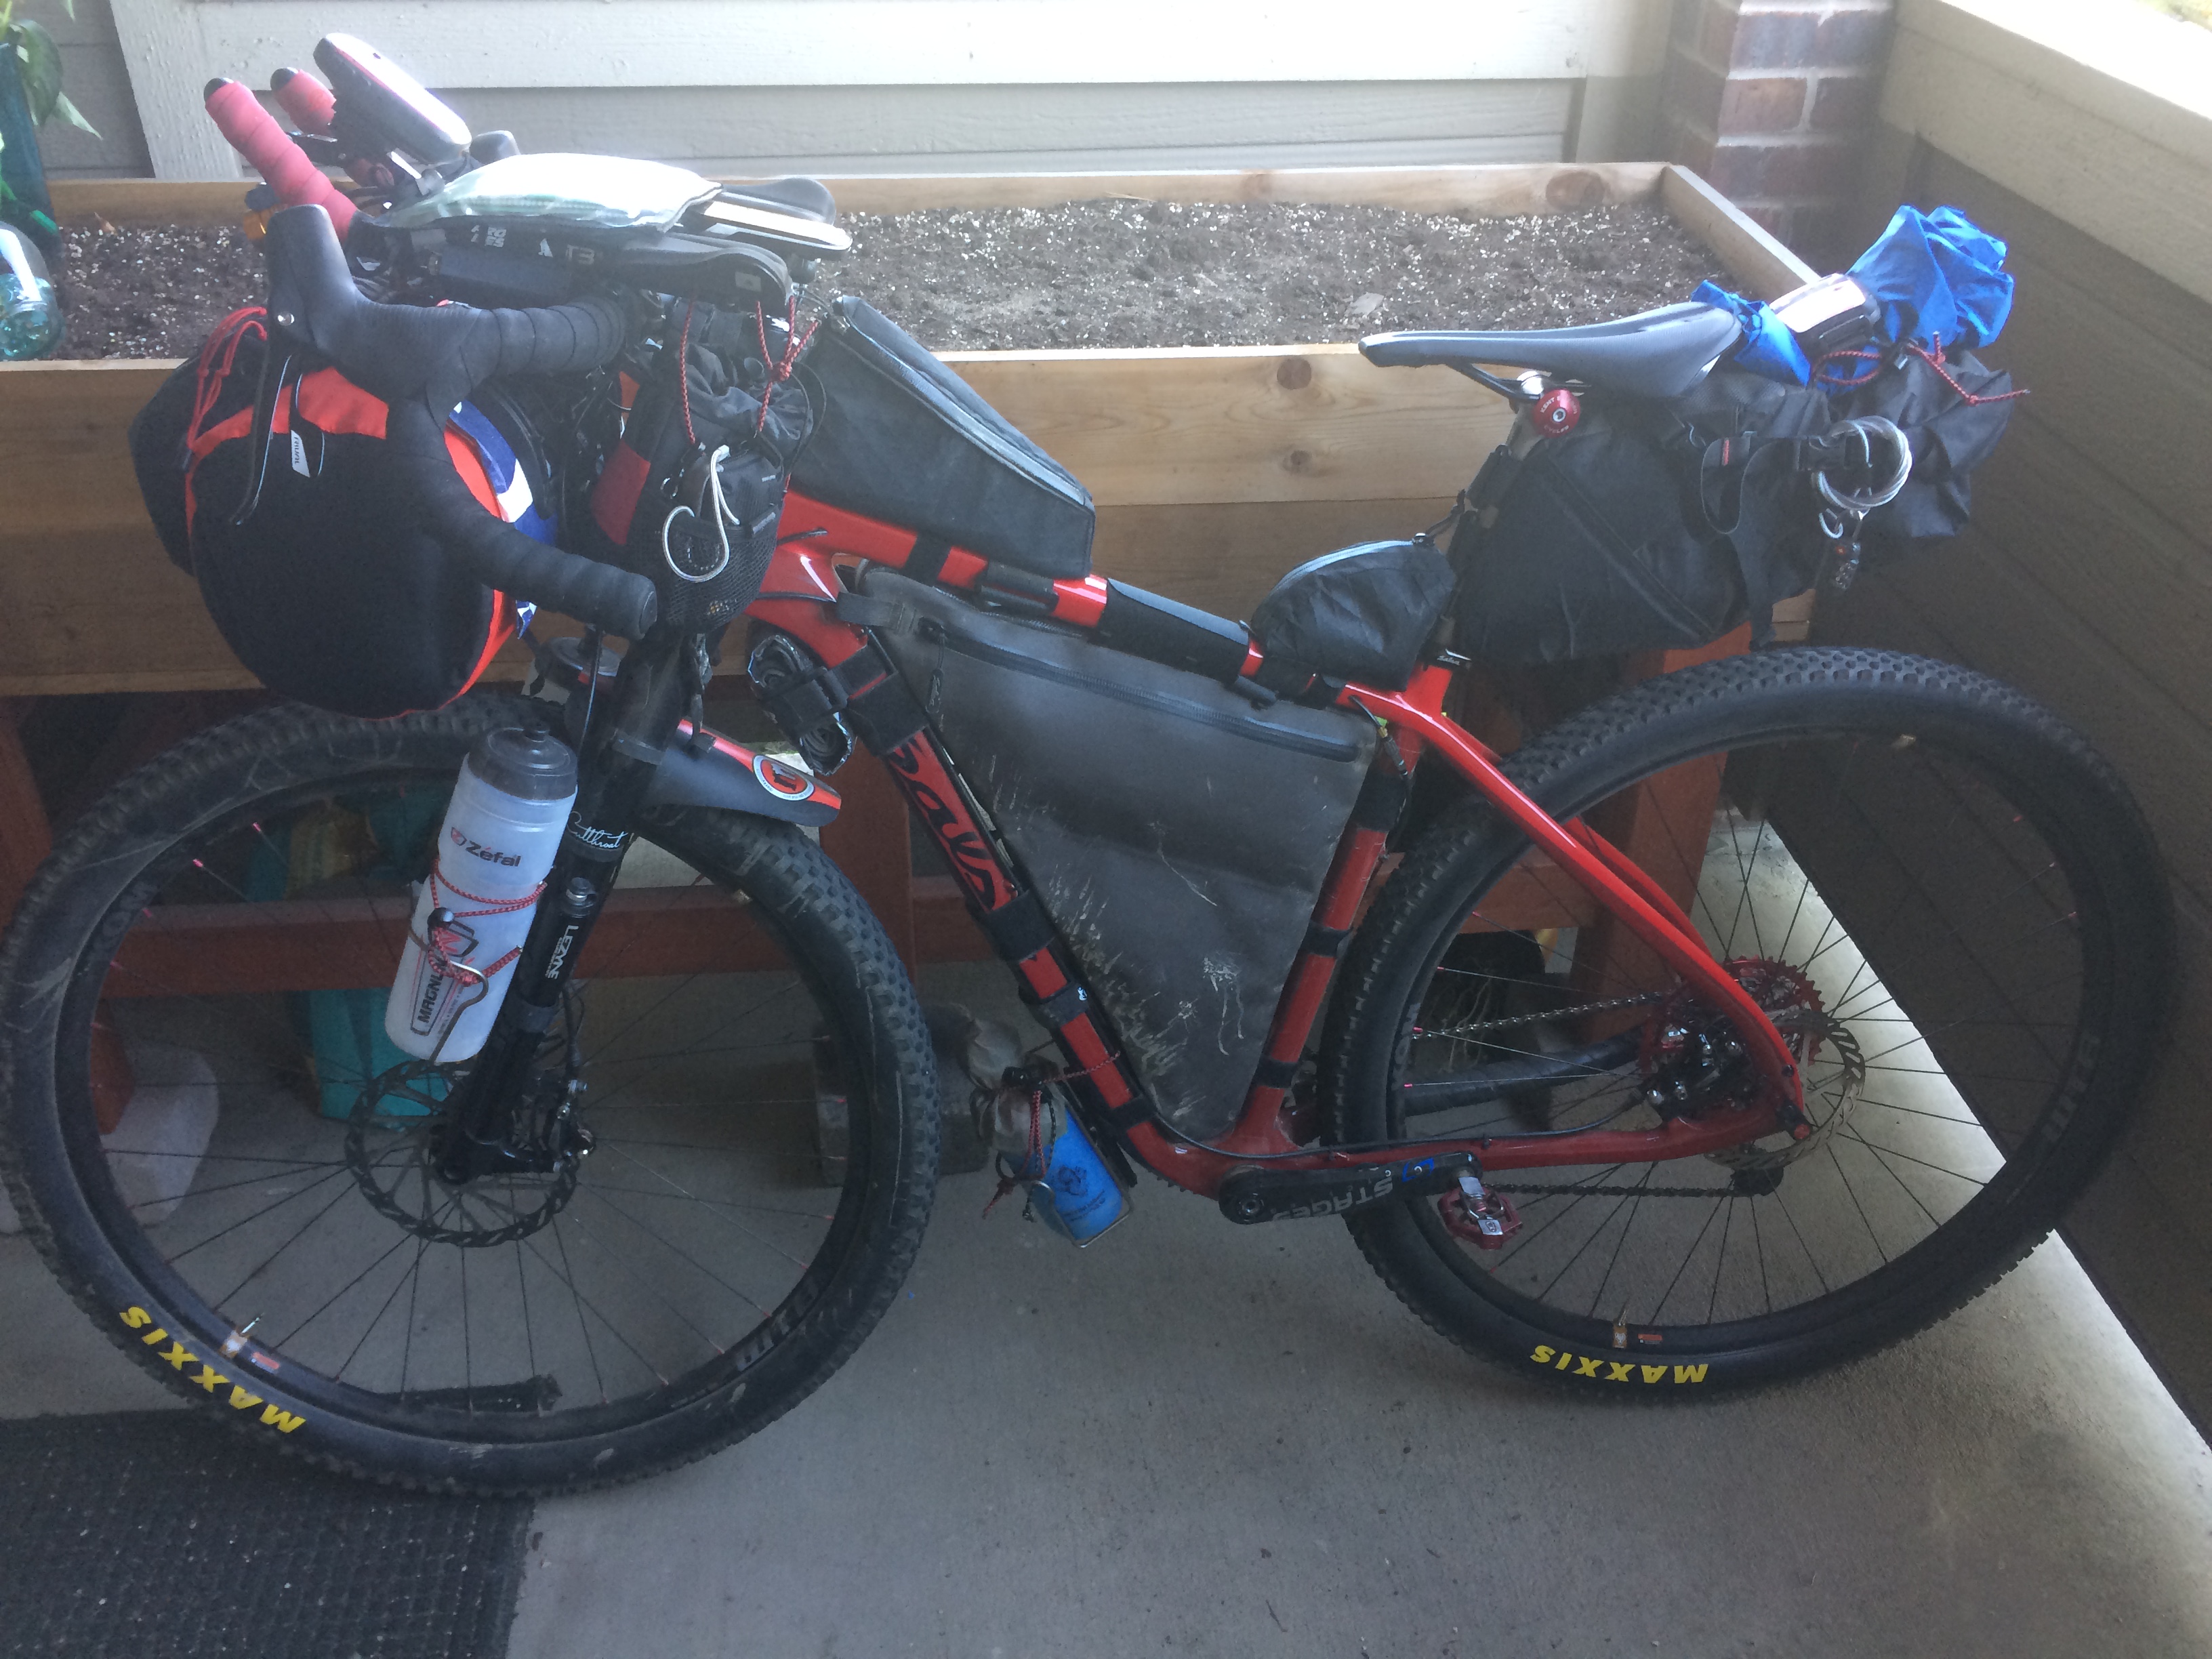
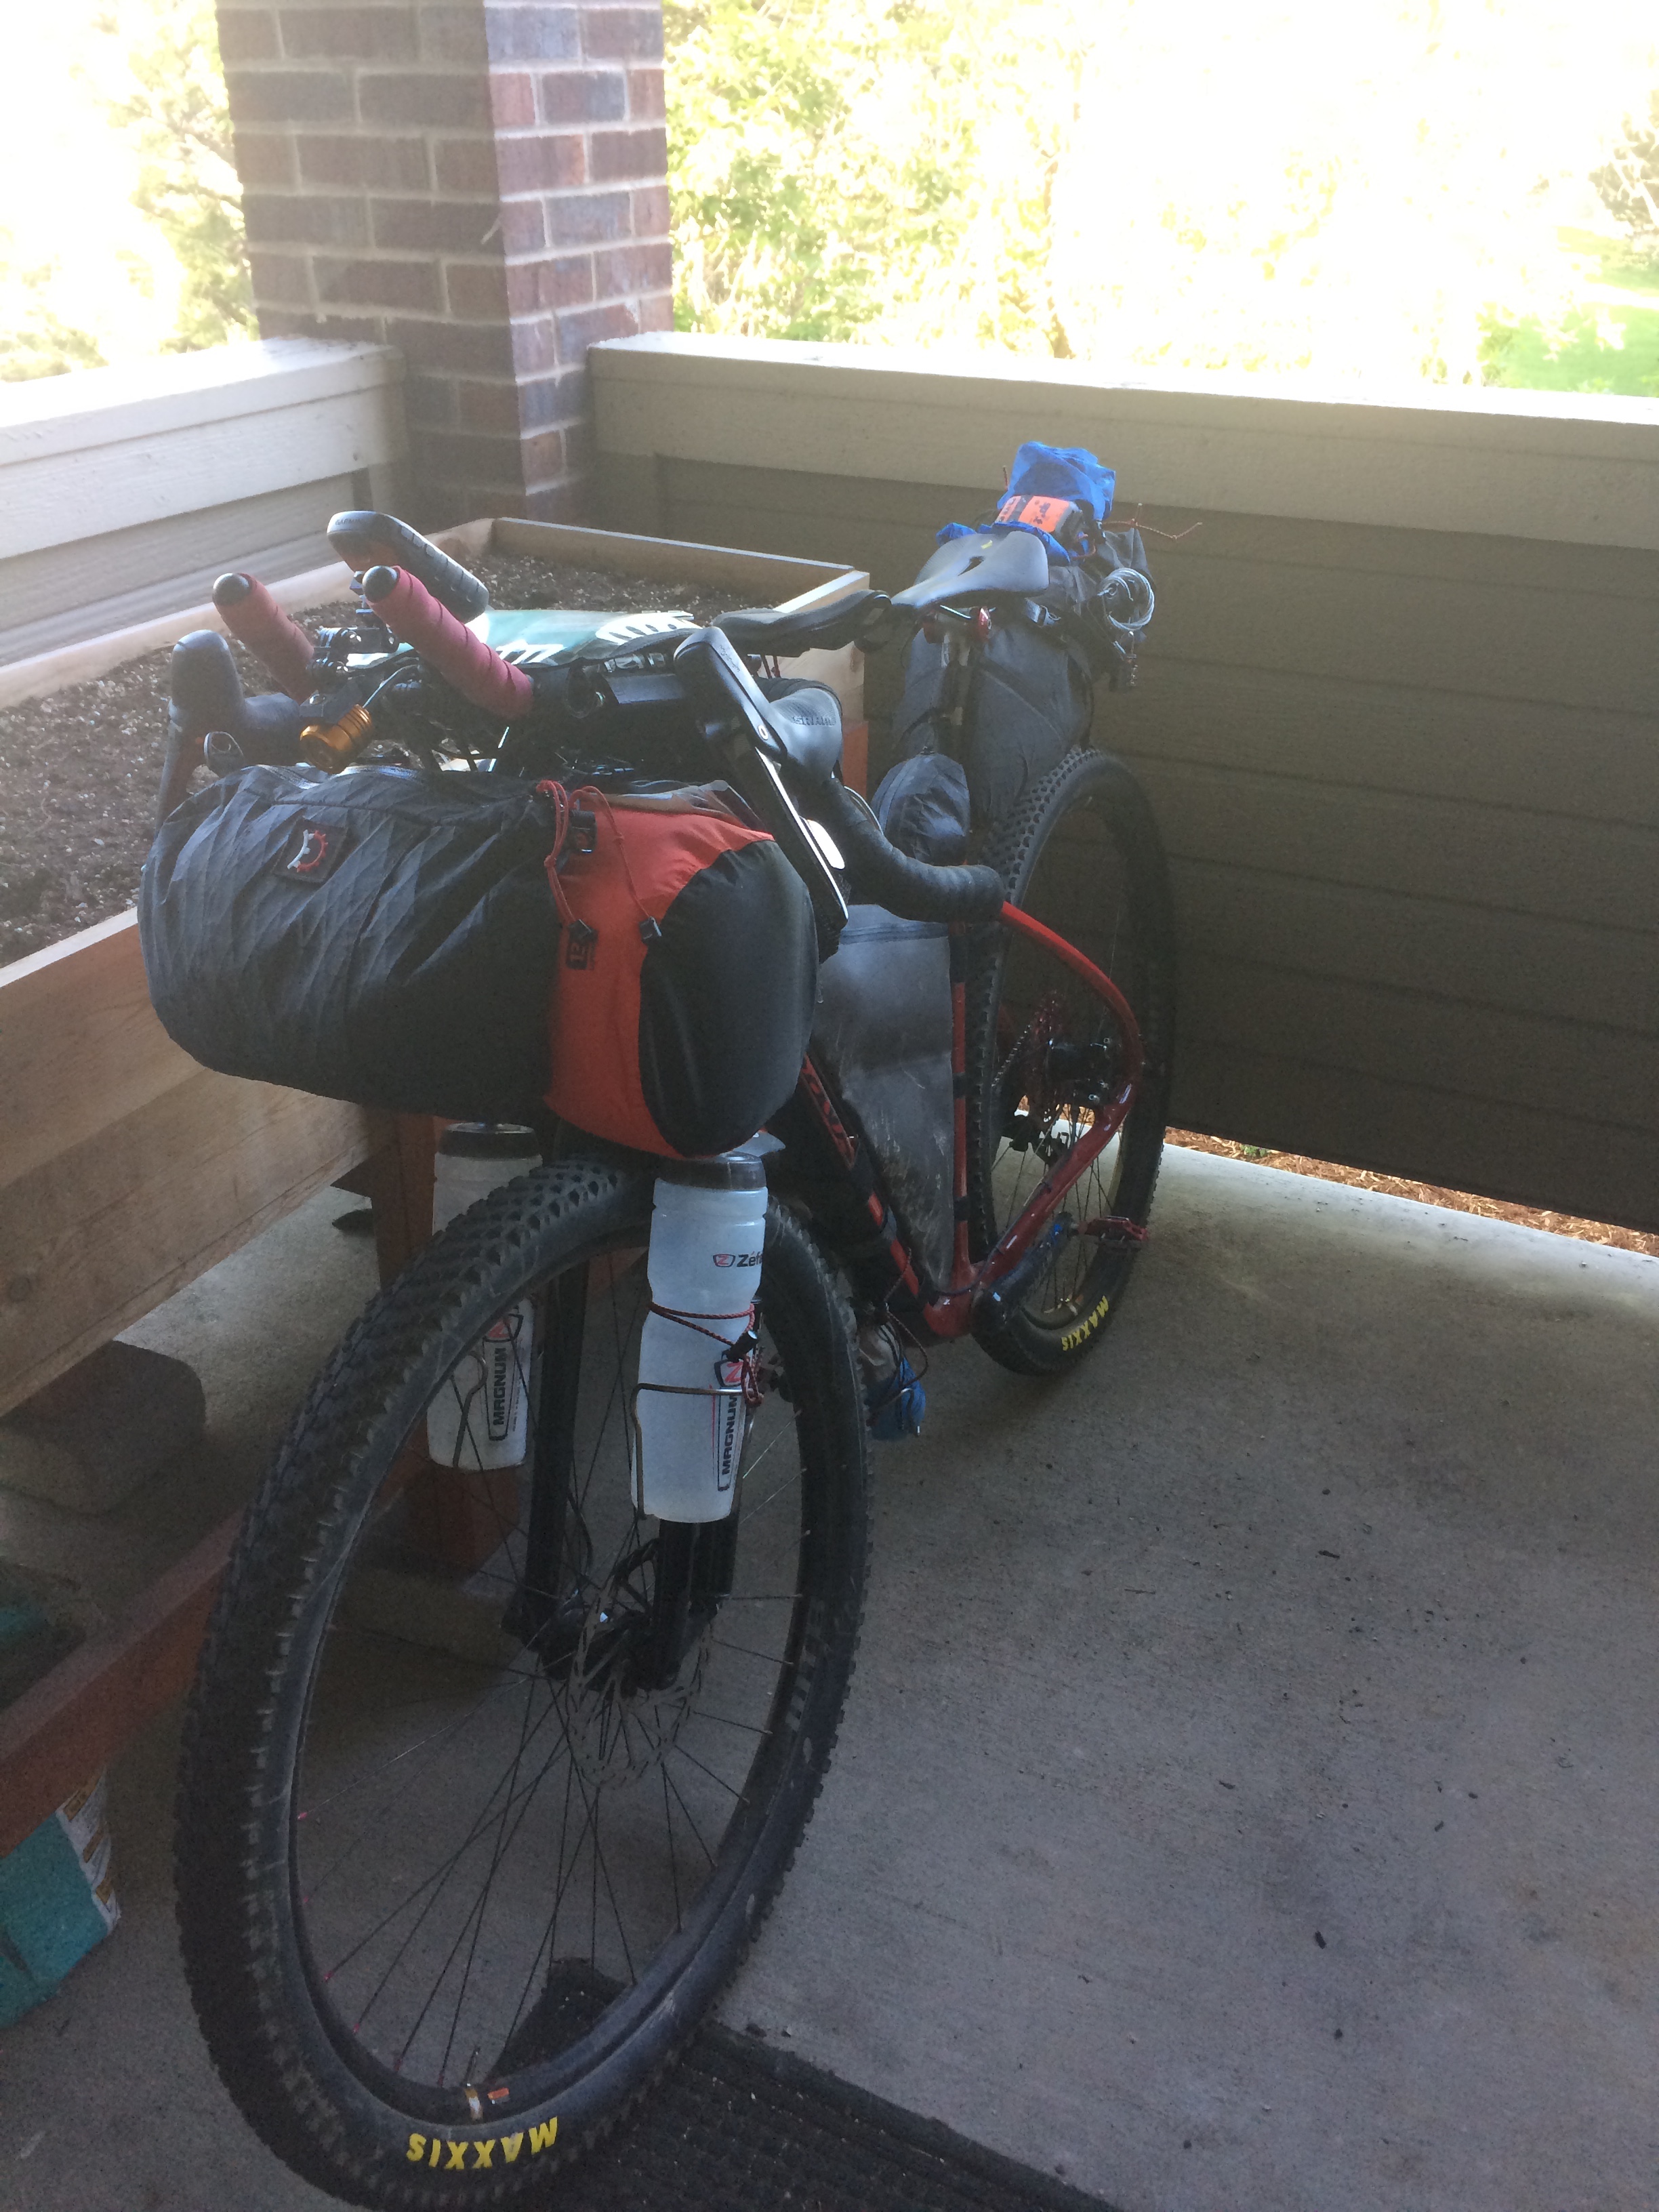
Mile 2700: Dirty